Toy Design · Physical Prototyping
Activity Box
A multifunctional wooden toy designed to encourage exploration, fine motor skills and open ended play.
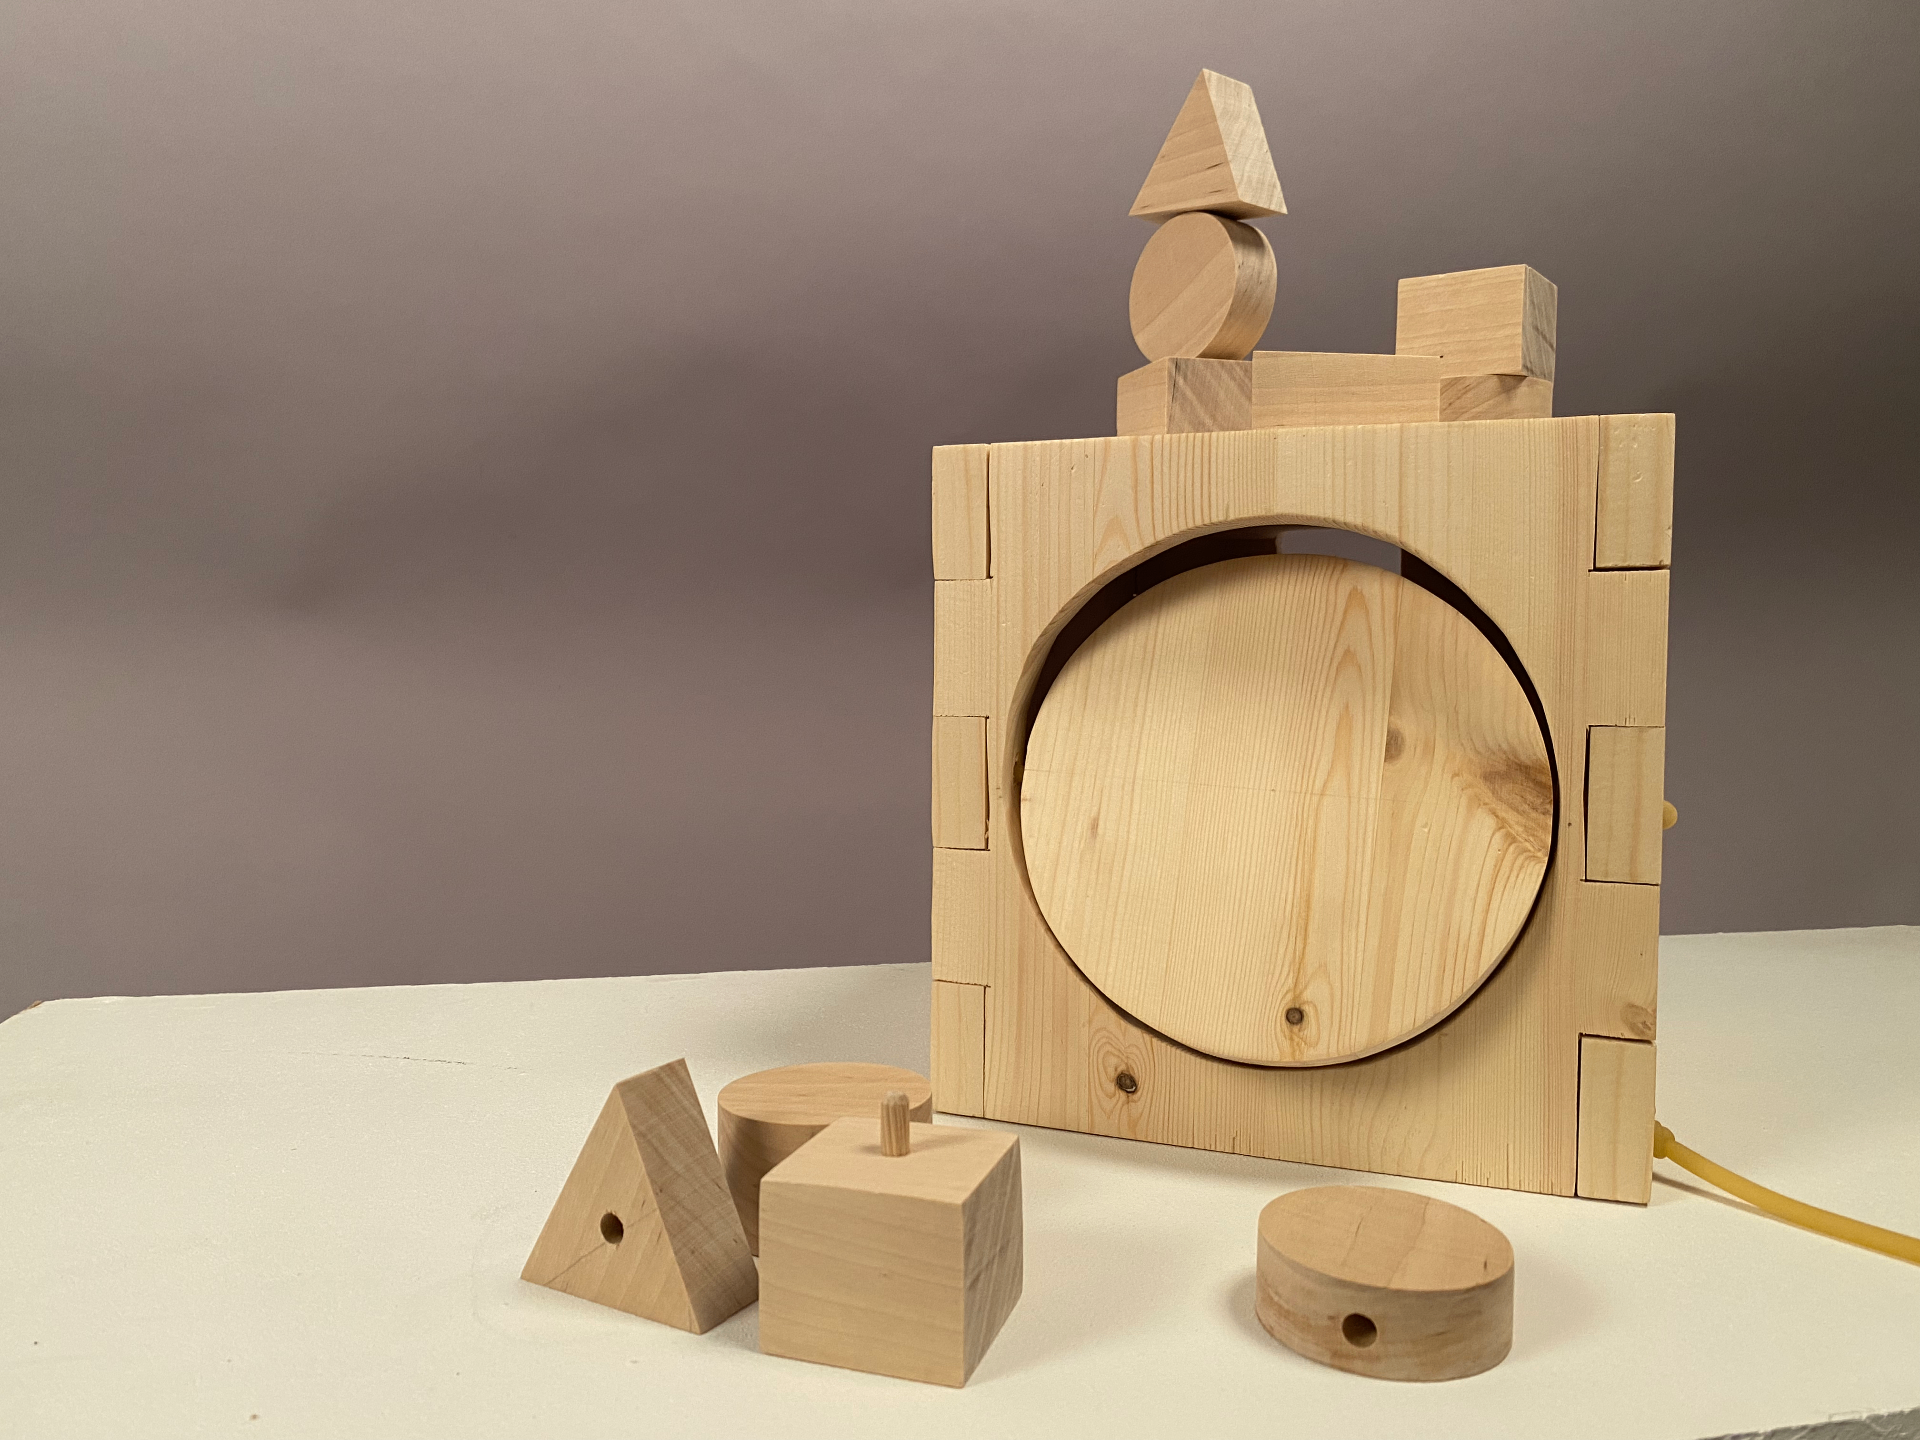
Final wooden Activity Box, seen from the circular door side with the loose shape blocks stacked on top.
- Project type
- Toy Design · Physical Prototyping
- Course
- Design: Theory and Practice
- Year of study
- Year 2 of 5
- Duration
- Team
- Individual project
- My role
- Research, ideation, sketching, prototyping, woodworking and concept development
- Tools & methods
- Market research · Persona · Moodboards · Sketching · Physical prototyping · Woodworking · Packaging design
- Prototype
- Full scale wooden activity toy
No glue. No nails. No screws.
The brief asked for a toy built from one main material together with rubber bands. Glue, nails, screws and metal fasteners were not allowed, so structure, movement and interaction had to be shaped by the material itself, by carefully cut wooden joints and by the tension of the rubber bands.
The project was built around a simple constraint. The toy had to be made from wood, with rubber bands as the only additional material. Every design decision had to work within those boundaries.
User and direction
I designed the toy for a young child and wanted to create something that encouraged curiosity, learning and exploration. The product needed to feel suitable for a child’s room while offering more than one fixed activity. The final direction combined shape sorting, building, storage, movement and tactile interaction.
Ideation and concept development
- 1
Market research, moodboards and a wide range of early sketches
- 2
Around forty early ideas explored on paper
- 3
Selecting several concepts for physical prototyping
- 4
Combining building blocks, shape specific openings, storage and moving parts
- 5
Refining the activity box direction through further sketching
Construction and joinery
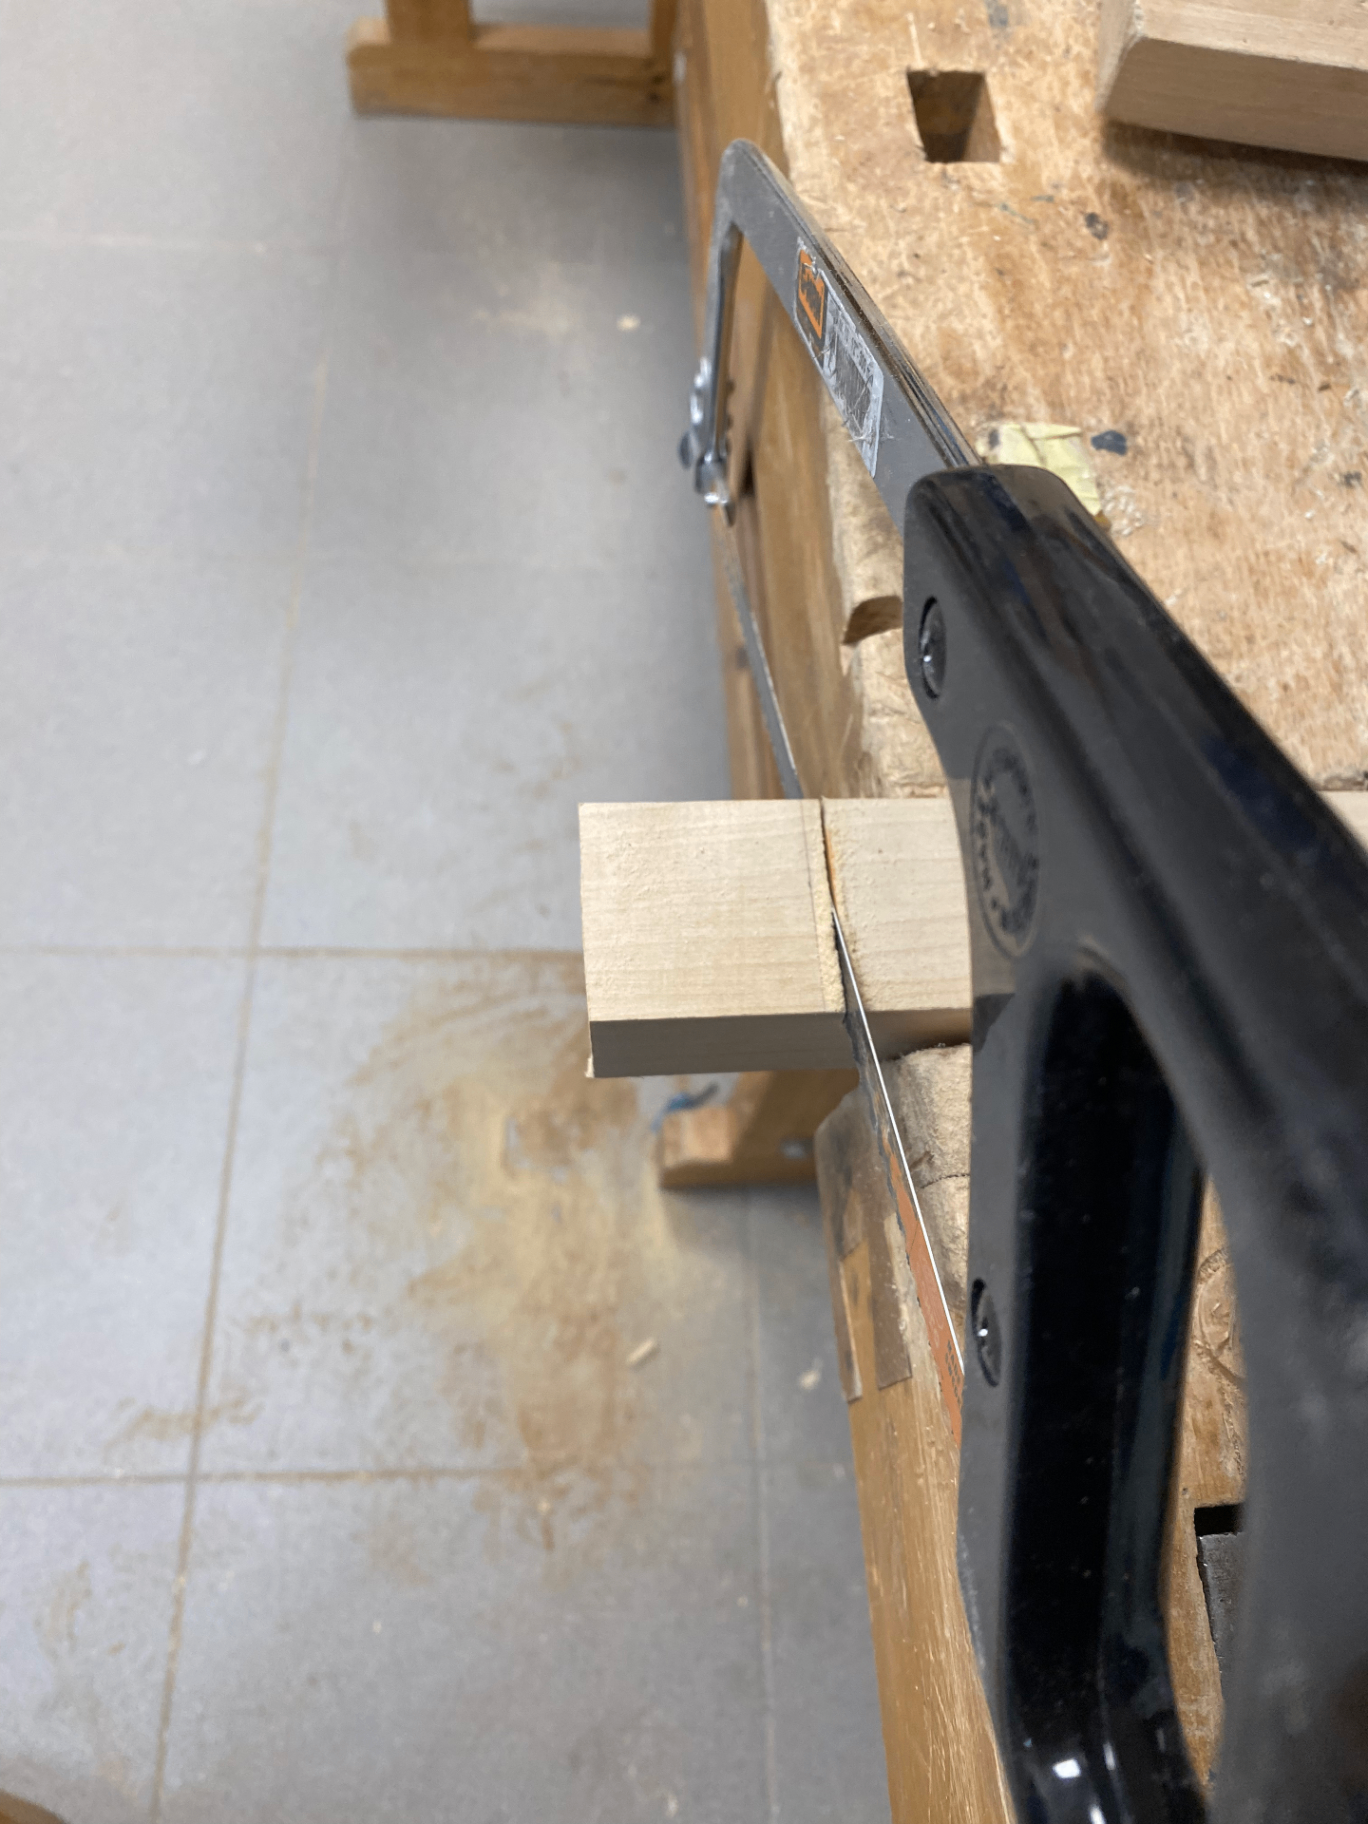
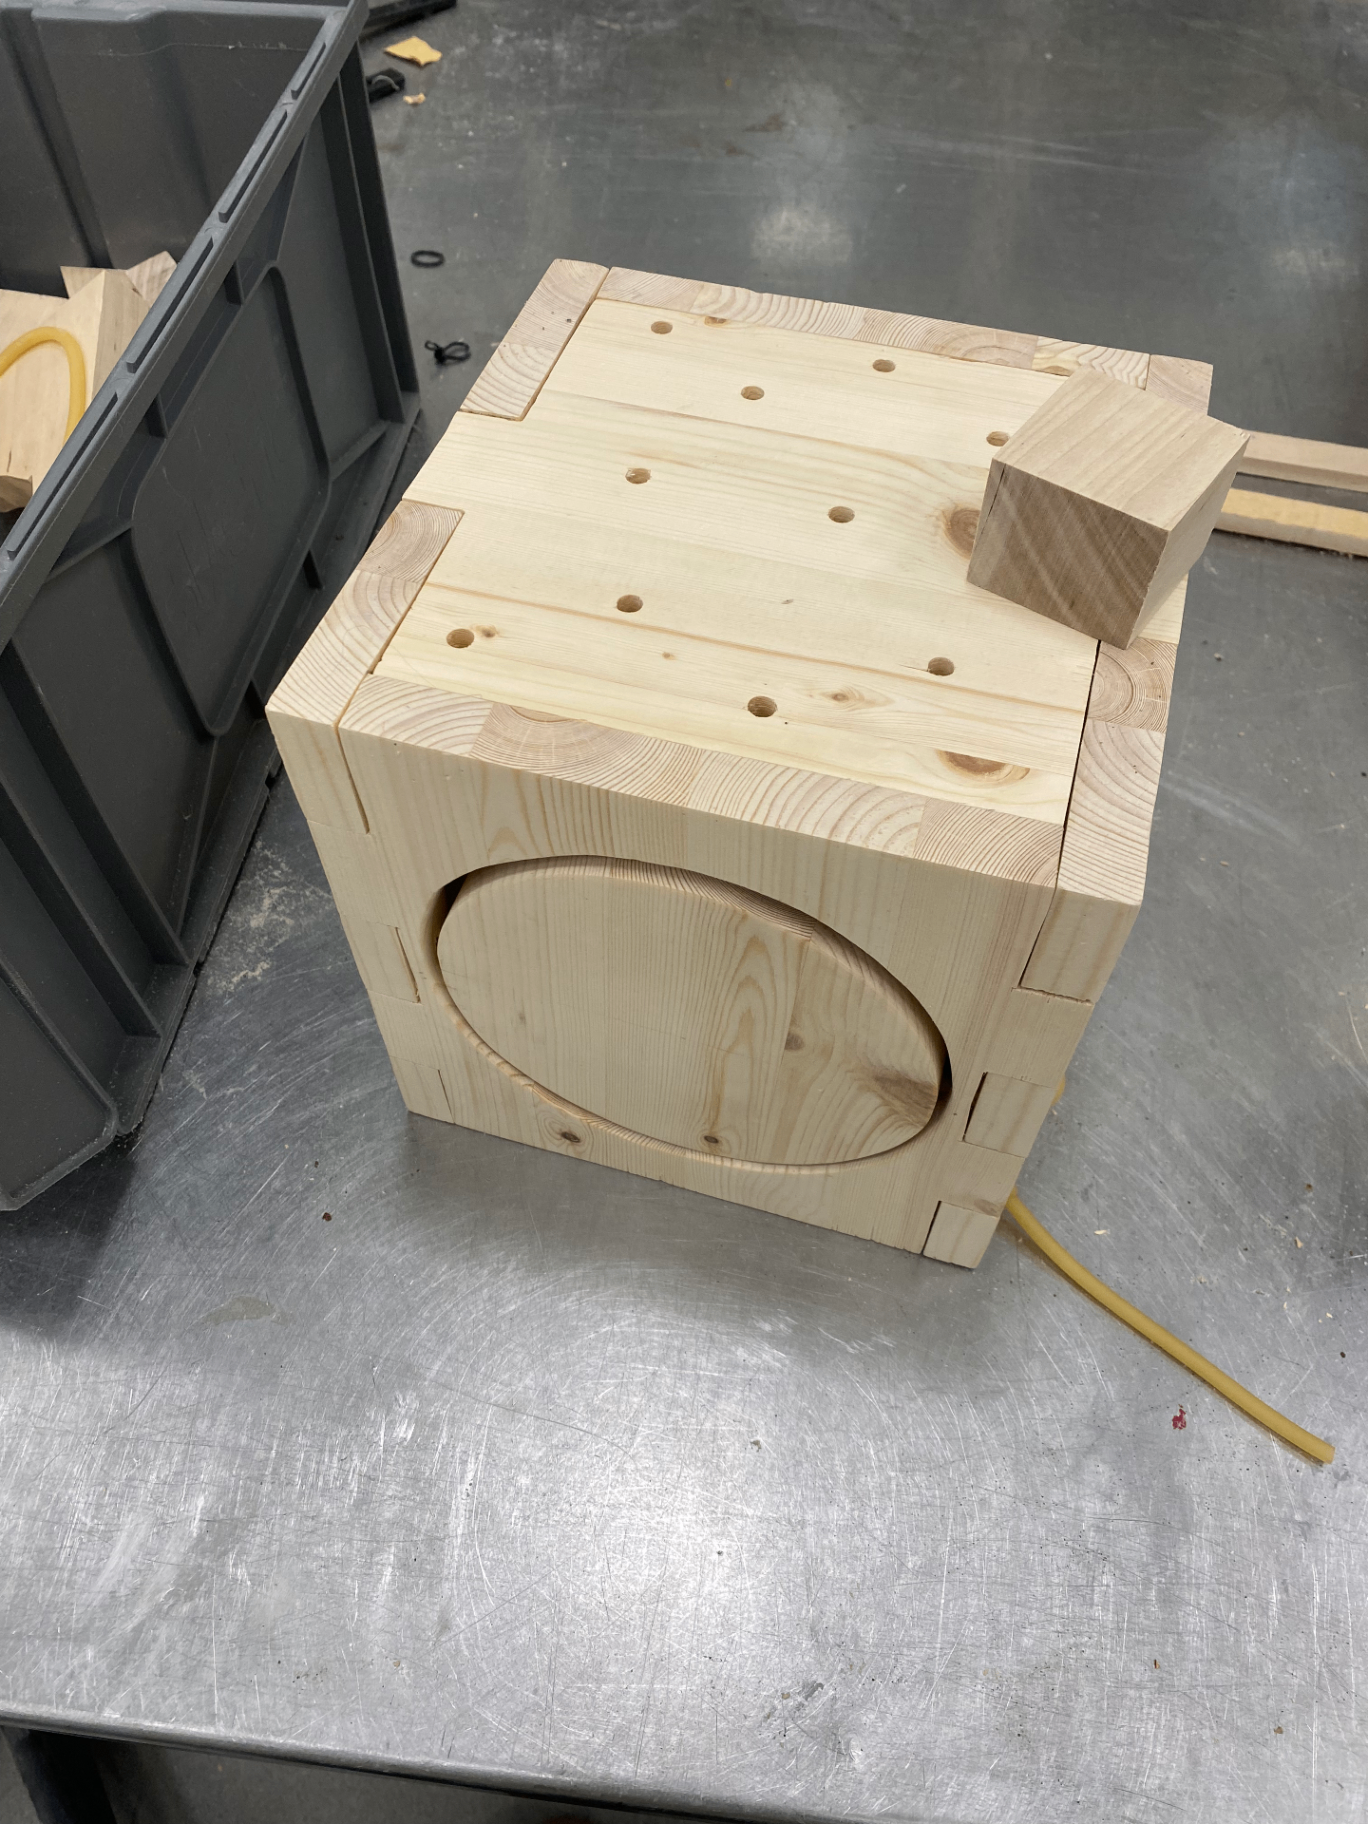
With glue, nails and screws off the table, the construction had to be resolved through the material itself. I designed a set of interlocking wooden joints so the walls, base and top could hold each other in place through geometry alone.
Each piece was cut, shaped and fitted by hand in the workshop. The joints had to be tight enough to stay in place during play, but loose enough to allow the parts to be assembled without force.
The rubber bands served two purposes. They transformed the box into a storage space by keeping the blocks inside, while also becoming part of the play experience. Children can stretch, pluck and interact with them, adding both tactile and auditory feedback to the toy.
Final outcome
The final result is a multifunctional wooden activity box. A child can drop geometric blocks through matching openings, build with the loose pieces on top, rotate the large circular door and interact with rubber bands on another side.
The inside of the box provides storage for the loose wooden pieces. The different activities were brought together in one object to support exploration and open ended play.
Explore the interactions
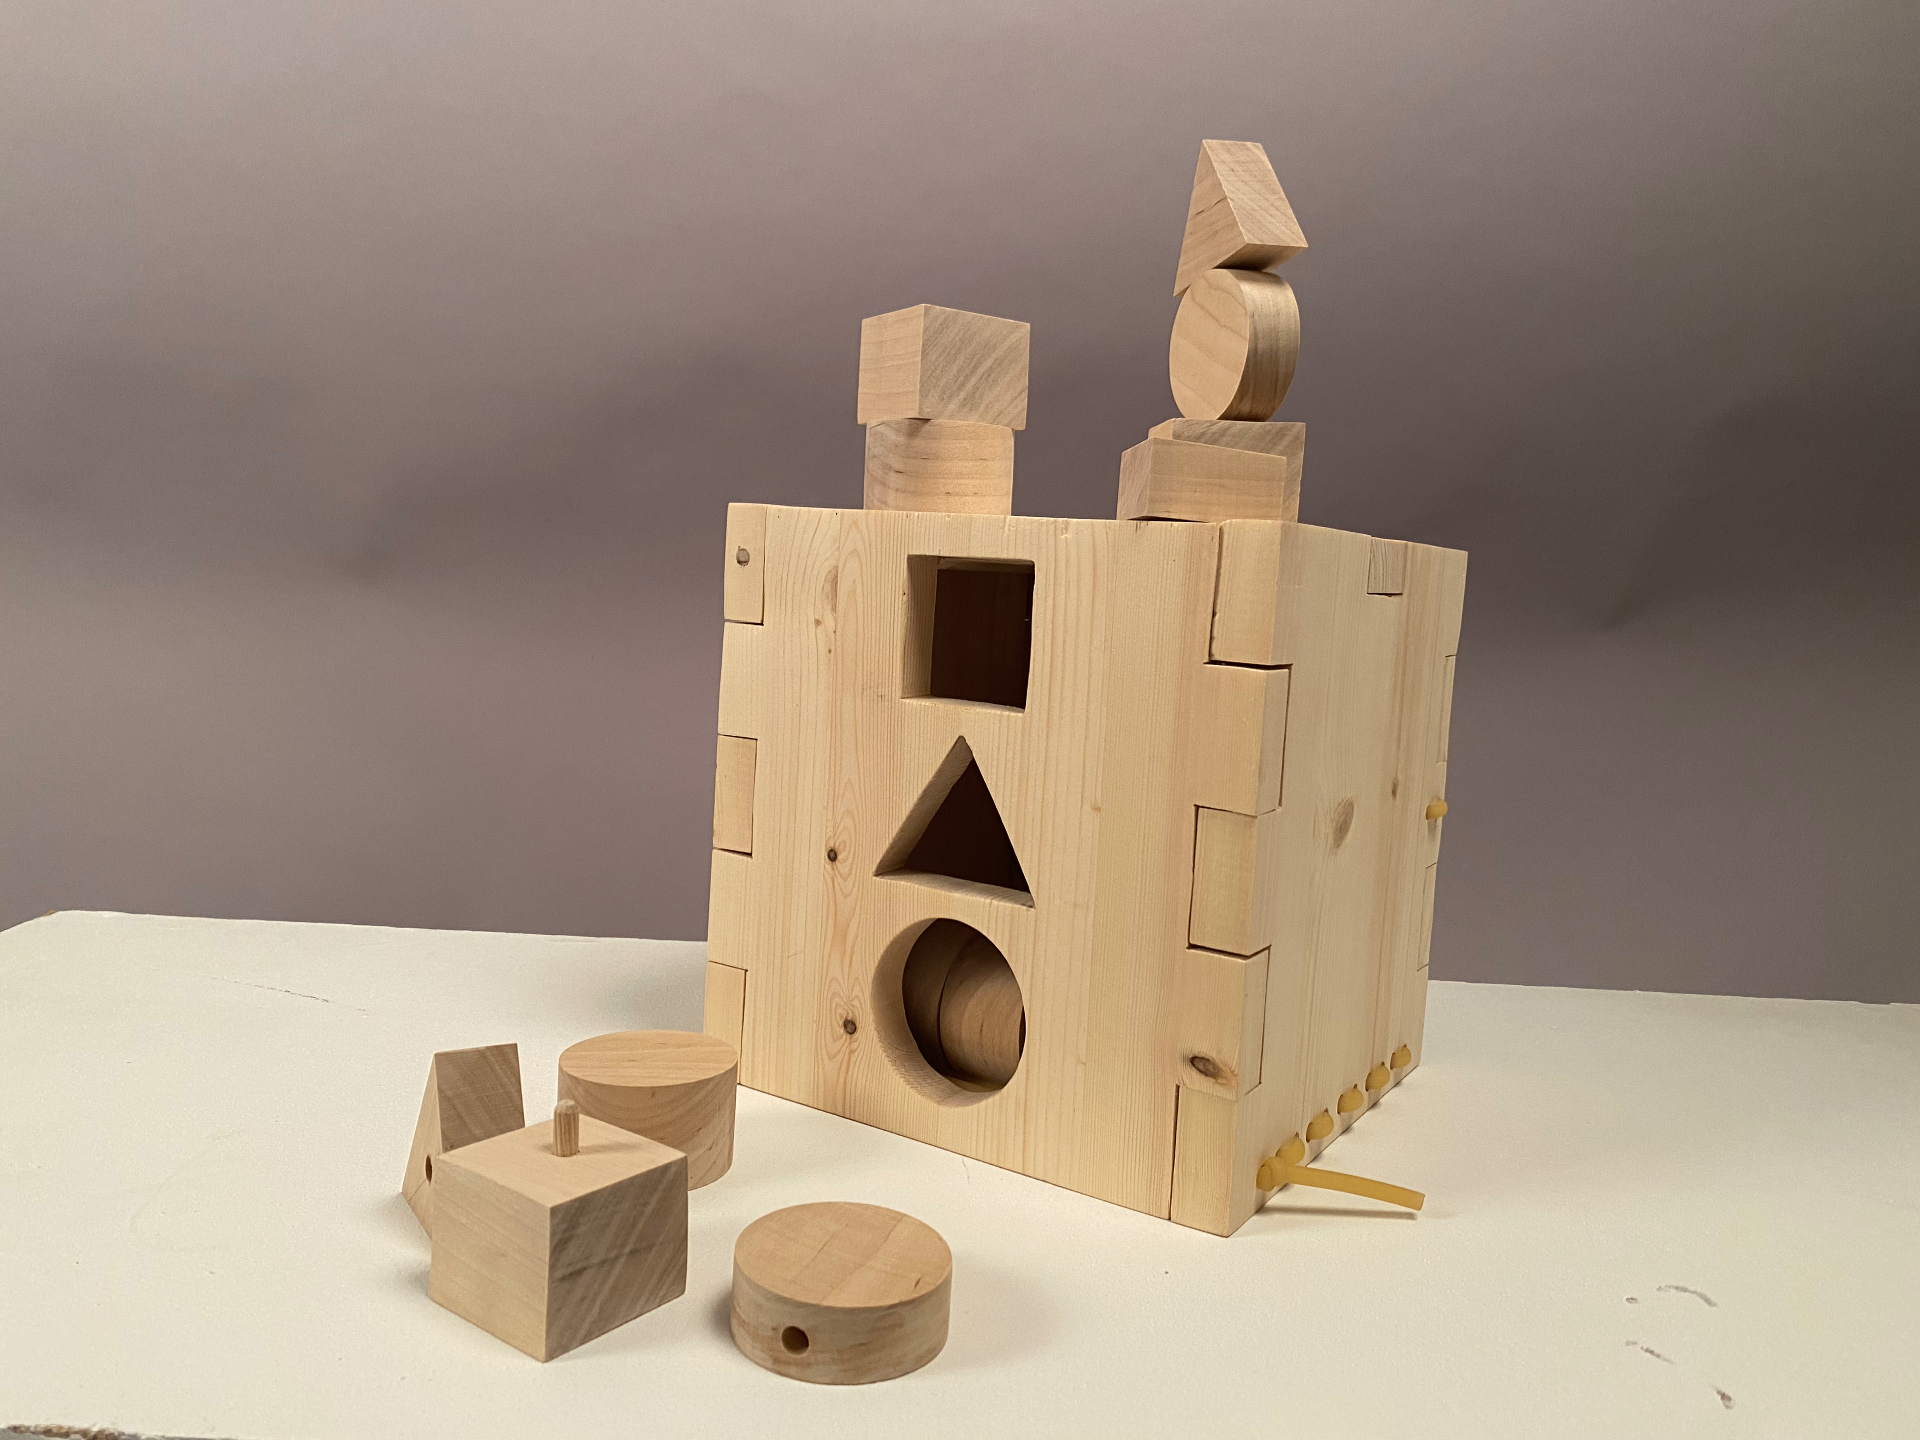
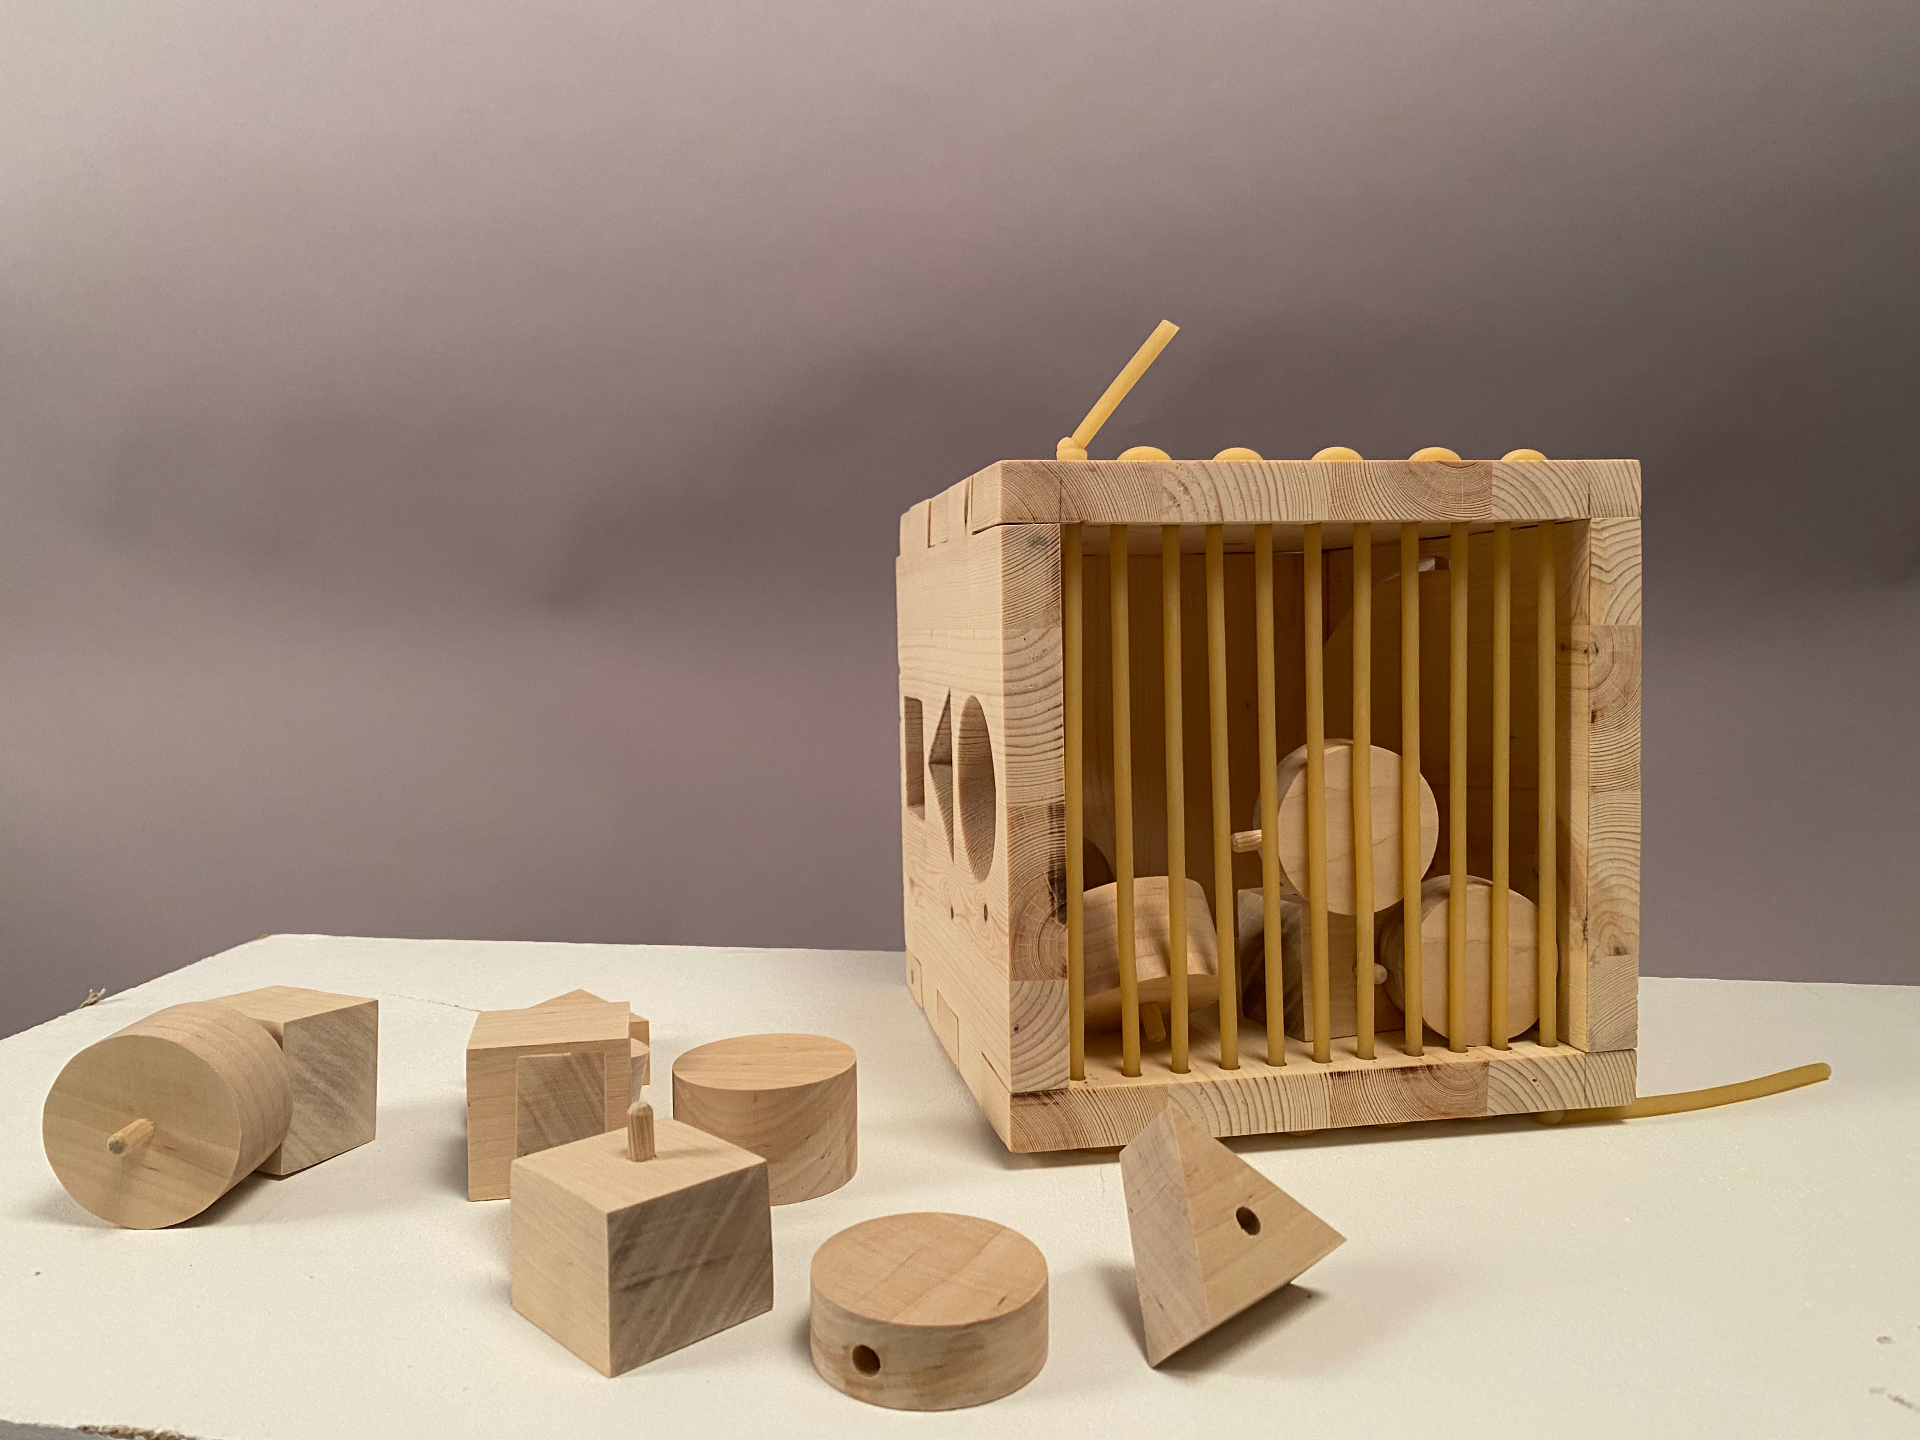
Tap or hover the markers to explore each interaction.
Early prototypes
Early cardboard prototype used to test the overall form and layout.
01 / 03
Sketches and concept development
Concept sketches exploring an early direction for the toy.
01 / 03
Context of use
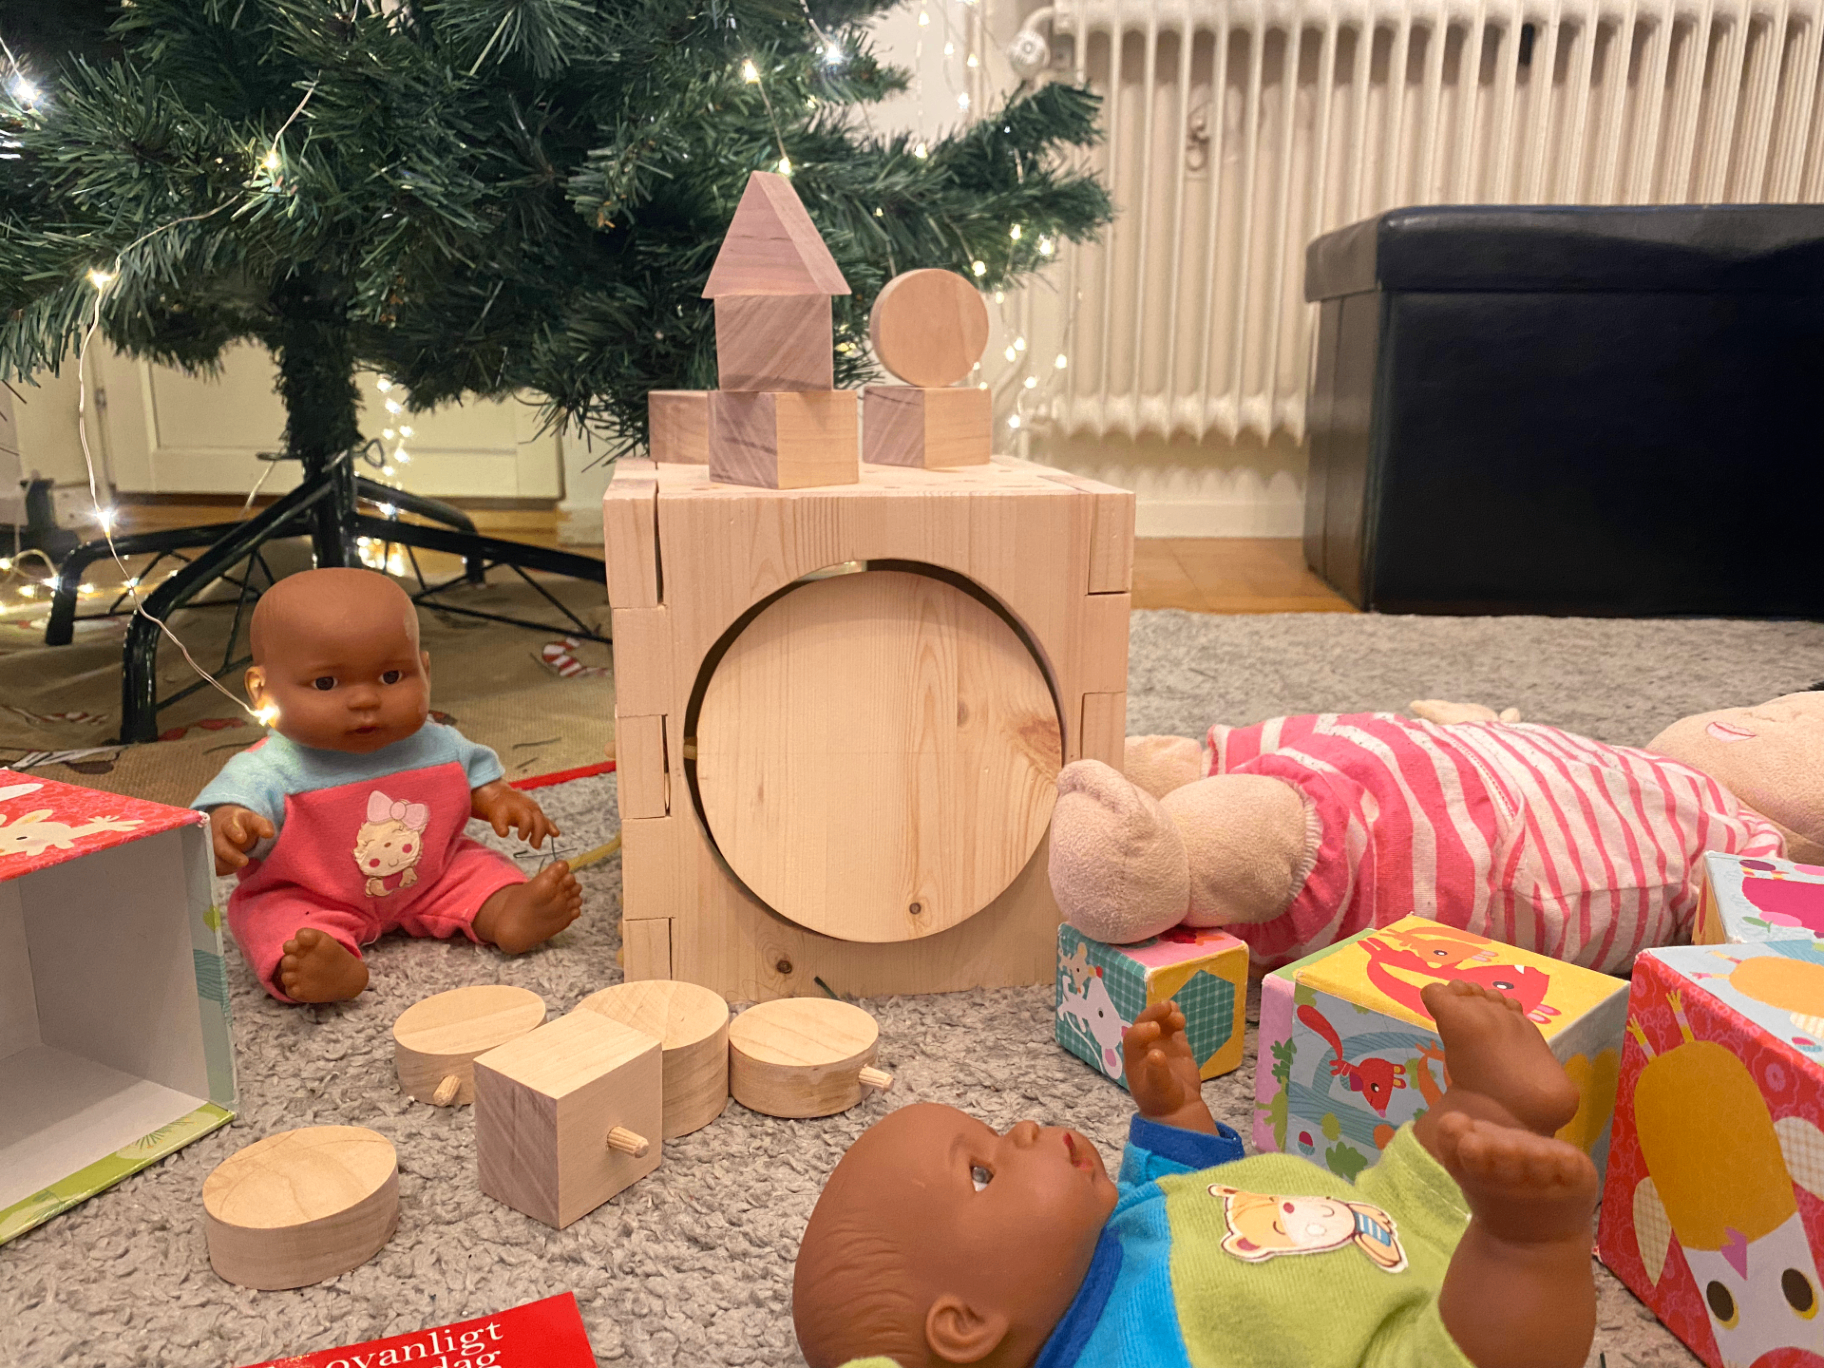
The Activity Box shown in a real play setting after the studio session.
Visual direction
A short supporting look at the workbook and moodboards created alongside the physical work.
Workbook cover for the project documentation.
01 / 02
Key learnings
- Material restrictions can lead to more creative construction solutions.
- Physical prototypes helped me understand scale, movement and assembly.
- Giving a product several ways to interact with it can extend its usefulness and encourage continued exploration over time.